Home
Über uns
Snapshots
Bildergalerie
Dokumente
aktuelle Termine
PDF Dokumente
Tourberichte
Vorstand
Kontakt
Anmelden
Title
Ordering
Ordering Ascending
Ordering Descending
Title Ascending
Title Descending
Date Ascending
Date Descending
Rating Count Ascending
Rating Count Descending
Rating Ascending
Rating Descending
Hits Ascending
Hits Descending
Display Num
5
10
15
20
50
All
Seite 2 von 2
1
2
Play Slideshow
Pause Slideshow
Powered by
Phoca Gallery
Aktuelle Seite:
Startseite
Bildergalerie
kgk-touren
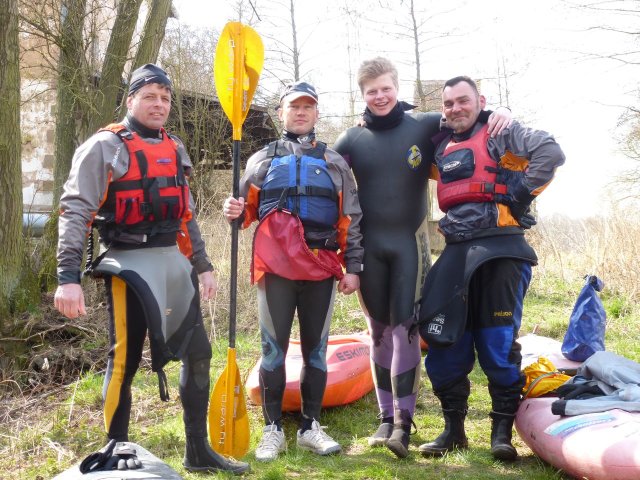
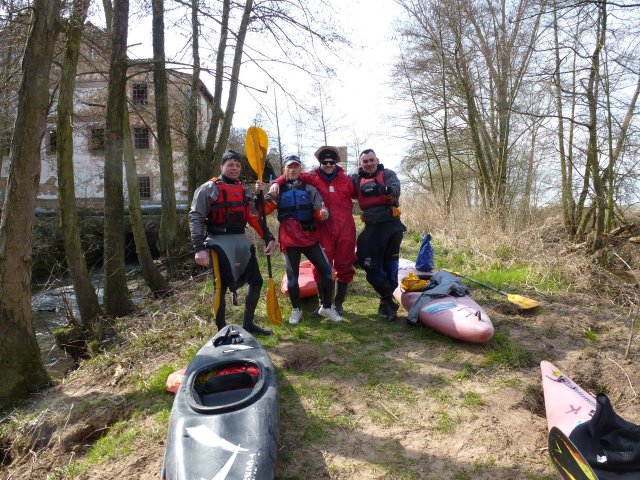
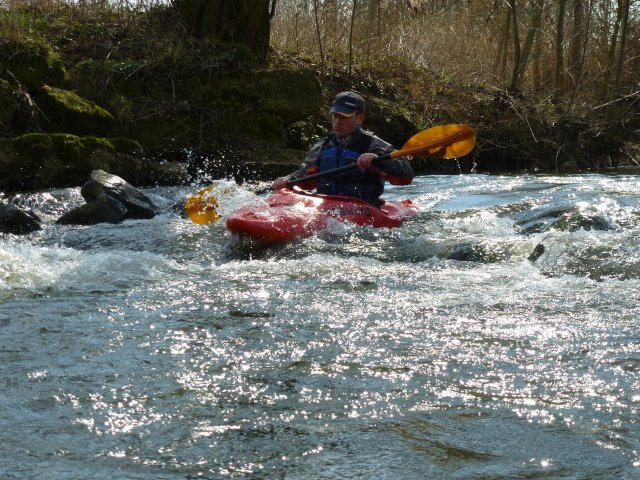
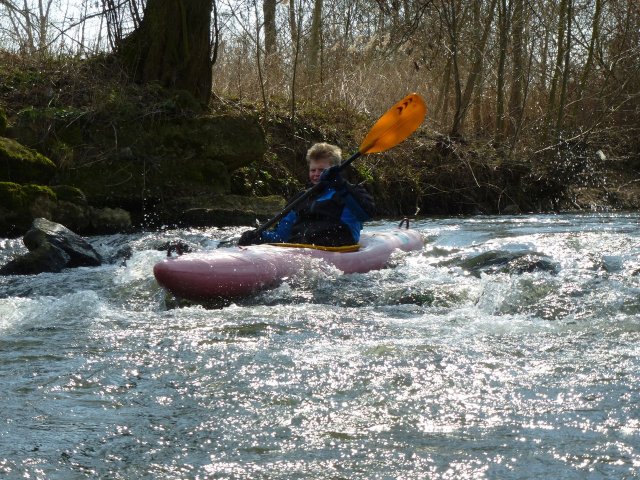
Obere Moder 01.04.2013
Kajak Icons erstellt von Freepik - Flaticon
canua app (android, iphone)